Introduction
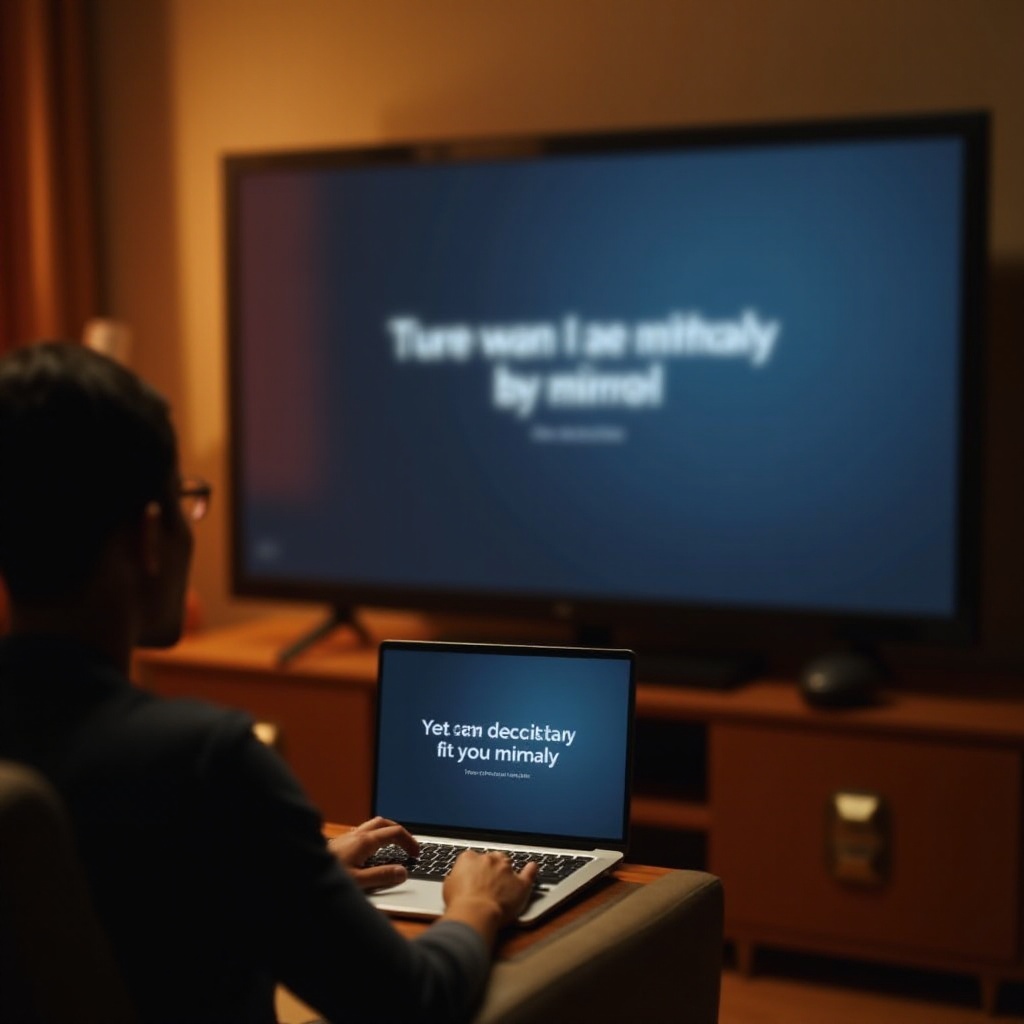
Casting your Chromebook onto your TV screen can be a game-changer for presentations, streaming your favorite shows, or working on a larger display. This comprehensive guide will walk you through the necessary equipment, preparation steps, and multiple casting methods. You will also find solutions to common issues and tips for optimal performance, ensuring a seamless experience. Let’s dive in to make your casting process as smooth as possible.
Equipment Needed
Before you can cast your Chromebook onto the TV, you must gather specific equipment. Here is what you will need:
- Chromebook: Ensure it has the latest updates installed.
- TV: Supports HDMI input or has built-in casting features.
- Google Chromecast: Optional but recommended for the easiest casting.
- HDMI Cable: Only required if using a direct connection.
- Wi-Fi Network: A stable and robust connection is vital for wireless casting.
Having these items ready will help ensure a smoother casting experience. Now, let’s prepare your Chromebook.
Preparing Your Chromebook for Casting
Setting up your Chromebook correctly is crucial for a successful casting experience. Follow these steps:
- Update Your Chromebook:
- Go to Settings > About Chrome OS > Check for updates. Install any available updates.
- Connect to Wi-Fi:
- Ensure your Chromebook is connected to the same Wi-Fi network as your TV or Chromecast.
- Enable Casting Functionality:
- Open Chrome browser.
- Click the three dots in the upper right corner.
- Select ‘Cast’ from the dropdown menu.
- Check TV Settings:
- Ensure your TV is set up to receive casting.
- Navigate to your TV input/source settings and select the appropriate option (HDMI or screen mirroring).
With your Chromebook and TV prepped, it’s time to move on to the actual casting methods.
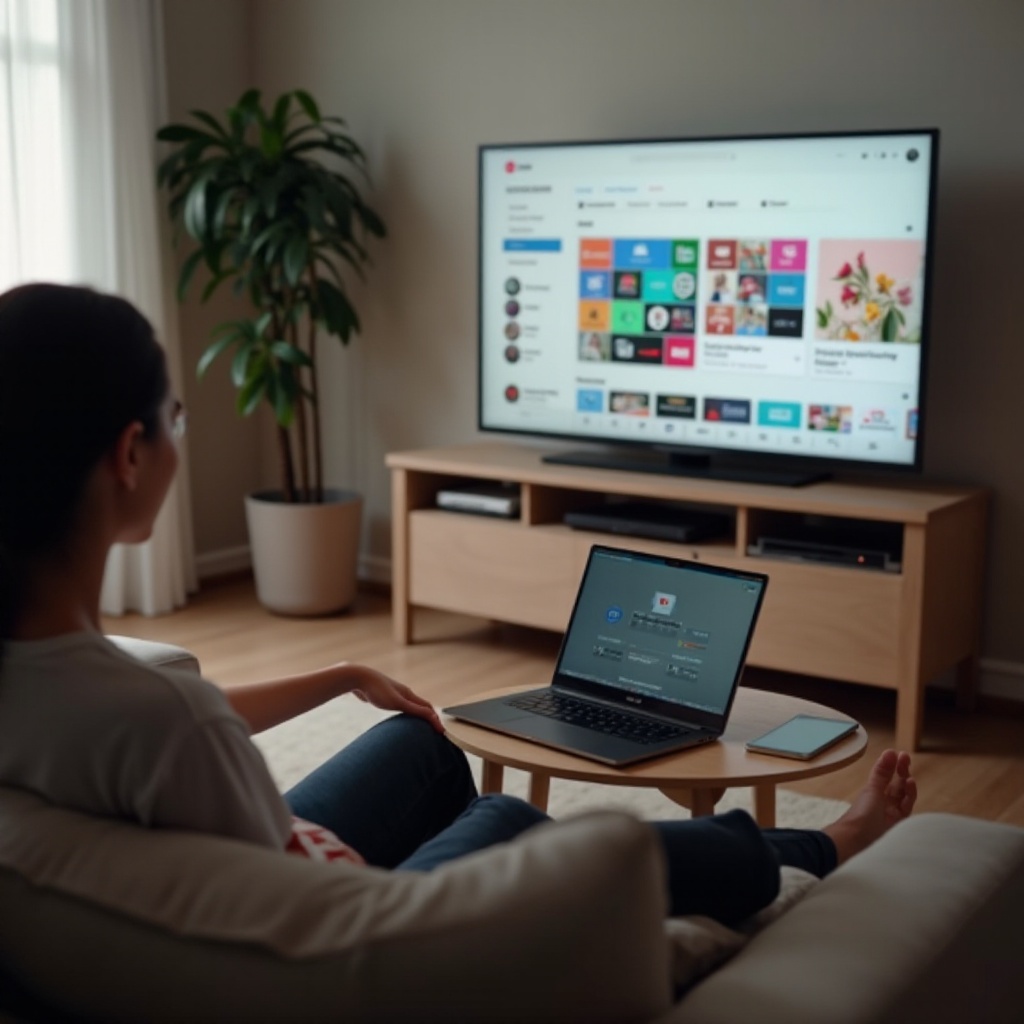
Detailed Casting Methods
Once your Chromebook and TV are prepared, you can start casting. There are multiple methods available based on the equipment you have. Here is a detailed look at these methods.
Using Google Chromecast
- Plug in Your Chromecast:
- Insert the Chromecast device into your TV’s HDMI port.
- Connect the USB power cable to the TV’s USB port or a power adapter.
- Set Up Chromecast:
- Use the Google Home app on your phone or tablet.
- Follow the on-screen instructions to set up the Chromecast and connect it to your Wi-Fi network.
- Casting from Chromebook:
- Open the Chrome browser on your Chromebook.
- Click the three dots in the upper right corner and select ‘Cast’.
- Choose the device name (your Chromecast) from the list of available devices.
- Select ‘Cast Desktop’ or ‘Cast Tab’ depending on your preference.
Using Built-In TV Casting Features
- Enable Screen Mirroring on Your TV:
- Access your TV’s settings menu.
- Enable screen mirroring or cast feature (varies by brand; e.g., Samsung uses ‘AllShare’).
- Connect via Chromebook:
- Open the Chrome browser on your Chromebook.
- Go to Settings > Devices.
- Select ‘Cast’ and choose your TV from the list.
Using HDMI Cable
- Connect HDMI Cable:
- Plug one end of the HDMI cable into your Chromebook’s HDMI port.
- Connect the other end to your TV’s HDMI input.
- Adjust TV Input:
- Use your TV remote to switch to the appropriate HDMI input.
- Display Settings:
- On your Chromebook, click on the clock area to open the system tray.
- Select the connected display and adjust the display settings if needed.
Troubleshooting Common Issues
Sometimes, casting your Chromebook onto your TV doesn’t go as planned. Here are some common issues and how to troubleshoot them:
- No Connection:
- Ensure both devices are on the same Wi-Fi network.
- Restart your router, Chromebook, and TV.
- Lag or Poor Quality:
- Reduce the number of devices connected to your Wi-Fi network.
- Move your router closer to your devices.
- Chromebook Not Found:
- Ensure the casting option is enabled on your TV.
- Update firmware on both the TV and Chromebook.
If you still encounter issues, consult your device’s manual or support online for more detailed troubleshooting.
Tips for Optimal Performance
To ensure the best casting experience, consider these tips:
- Stable Wi-Fi:
- Use a robust and stable Wi-Fi connection.
- Close Unnecessary Tabs/Apps:
- Close tabs or apps on your Chromebook that you aren’t using to free up resources.
- Update Regularly:
- Maintain updates on all your devices for improved compatibility and performance.
- Optimal Positioning:
- Position your router centrally or closer to your devices to minimize interference.
Alternative Methods for Screen Mirroring
Apart from the methods mentioned, consider these alternatives for screen mirroring:
- Miracast:
- Some TVs support Miracast, allowing casting without Chromecast.
- Third-Party Apps:
- Apps like Vysor or ApowerMirror facilitate casting to various devices.
- Smart TV Apps:
- Use built-in apps (like YouTube or Netflix) that support direct casting from your Chromebook.
These alternatives provide additional flexibility for casting your Chromebook onto your TV screen.
Conclusion
Casting your Chromebook to your TV extends its functionality, making it easy to enjoy content on a larger screen. Whether you use Chromecast, built-in TV features, or an HDMI cable, this guide has provided you with the steps needed to achieve this. By following these instructions and troubleshooting tips, you’re well on your way to a seamless casting experience.
Frequently Asked Questions
Can I cast without a Chromecast?
Yes, you can use built-in TV casting features or an HDMI cable to cast your Chromebook without a Chromecast.
Why is there a lag when I cast my Chromebook?
Lag can be due to network issues or multiple devices on the network. Ensure a fast and stable Wi-Fi connection.
What should I do if the TV doesn’t recognize my Chromebook?
Check if both devices are on the same Wi-Fi network, and ensure your TV and Chromebook have the latest updates.